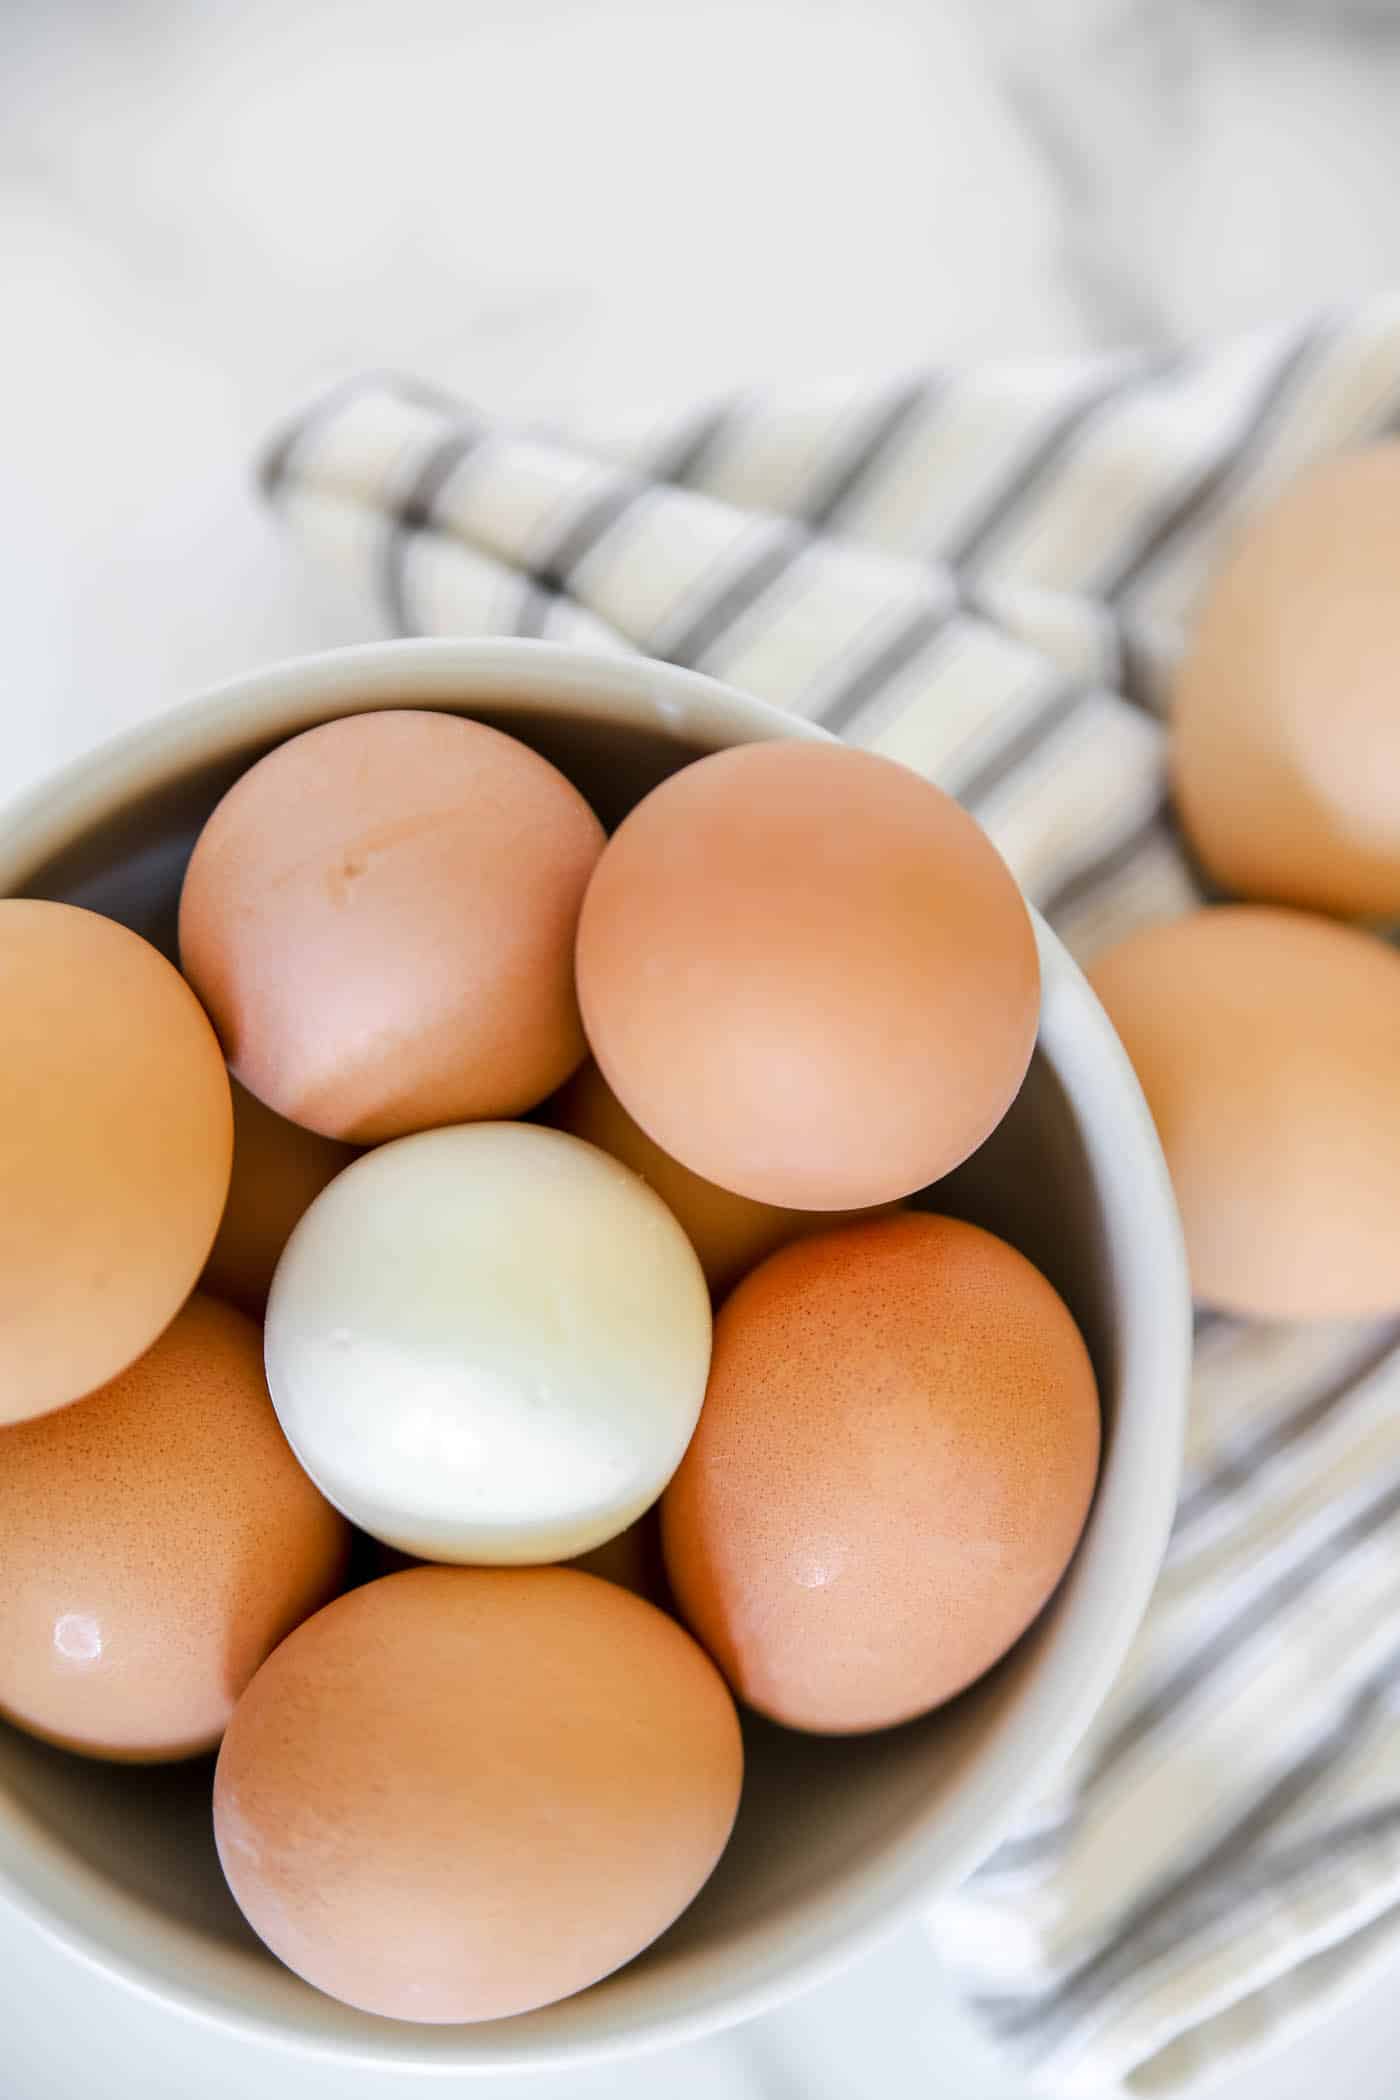
Instant Pot Hard-Boiled Eggs
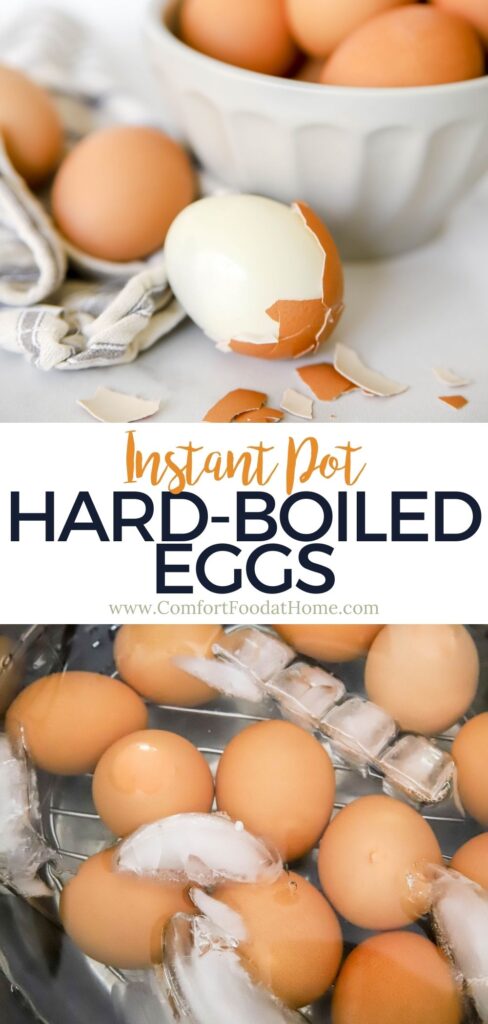
Cooking hard-boiled eggs in an Instant Pot is a great way to make perfect, easy-to-peel eggs every time. Not only does it require minimal effort and no babysitting of boiling water, but the cooking time is significantly reduced from traditional stovetop methods. In less than 30 minutes, you can have 12 perfectly cooked hard-boiled eggs that are ready for salads or snacks!
I don’t know about you, but lately, I’ve been really into my Instant Pot. It seriously makes cooking recipes so easy! And since I’m always looking for easy meals and snacks, making hard-boiled eggs in the Instant Pot was a no-brainer.
I’ve always been a bit nervous when I cook my eggs on the stovetop because going over even 30 seconds can make them overcooked and difficult to peel. But with the Instant Pot, it’s so much easier! All you need is 12 eggs, 1 cup of water, and your trusty Instant Pot.
It’s really that simple!
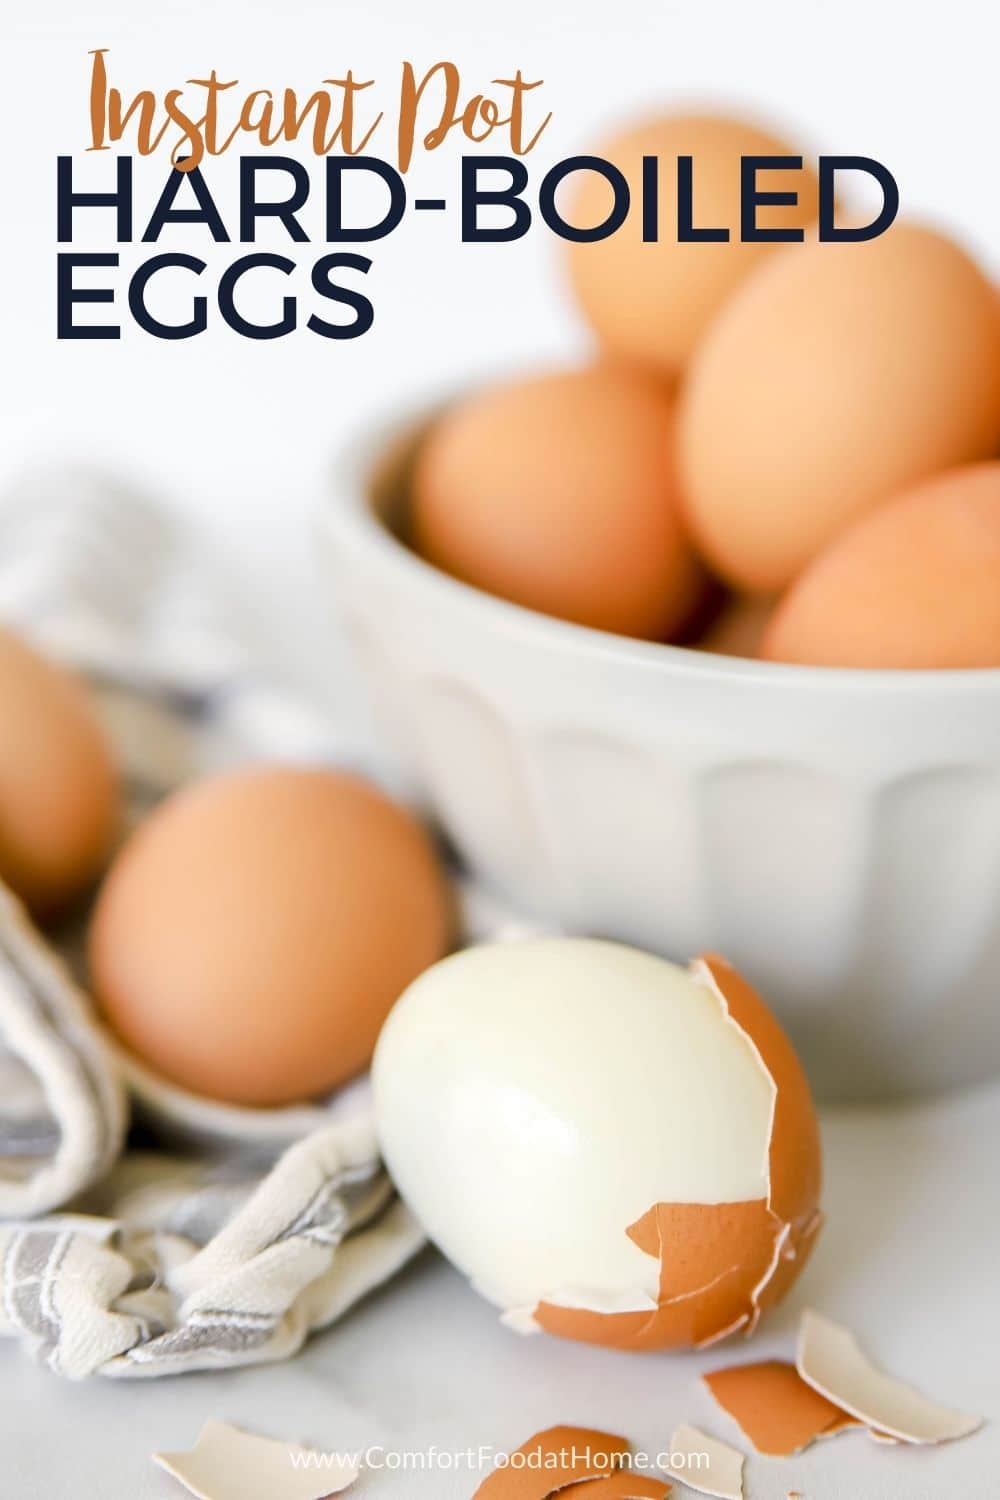
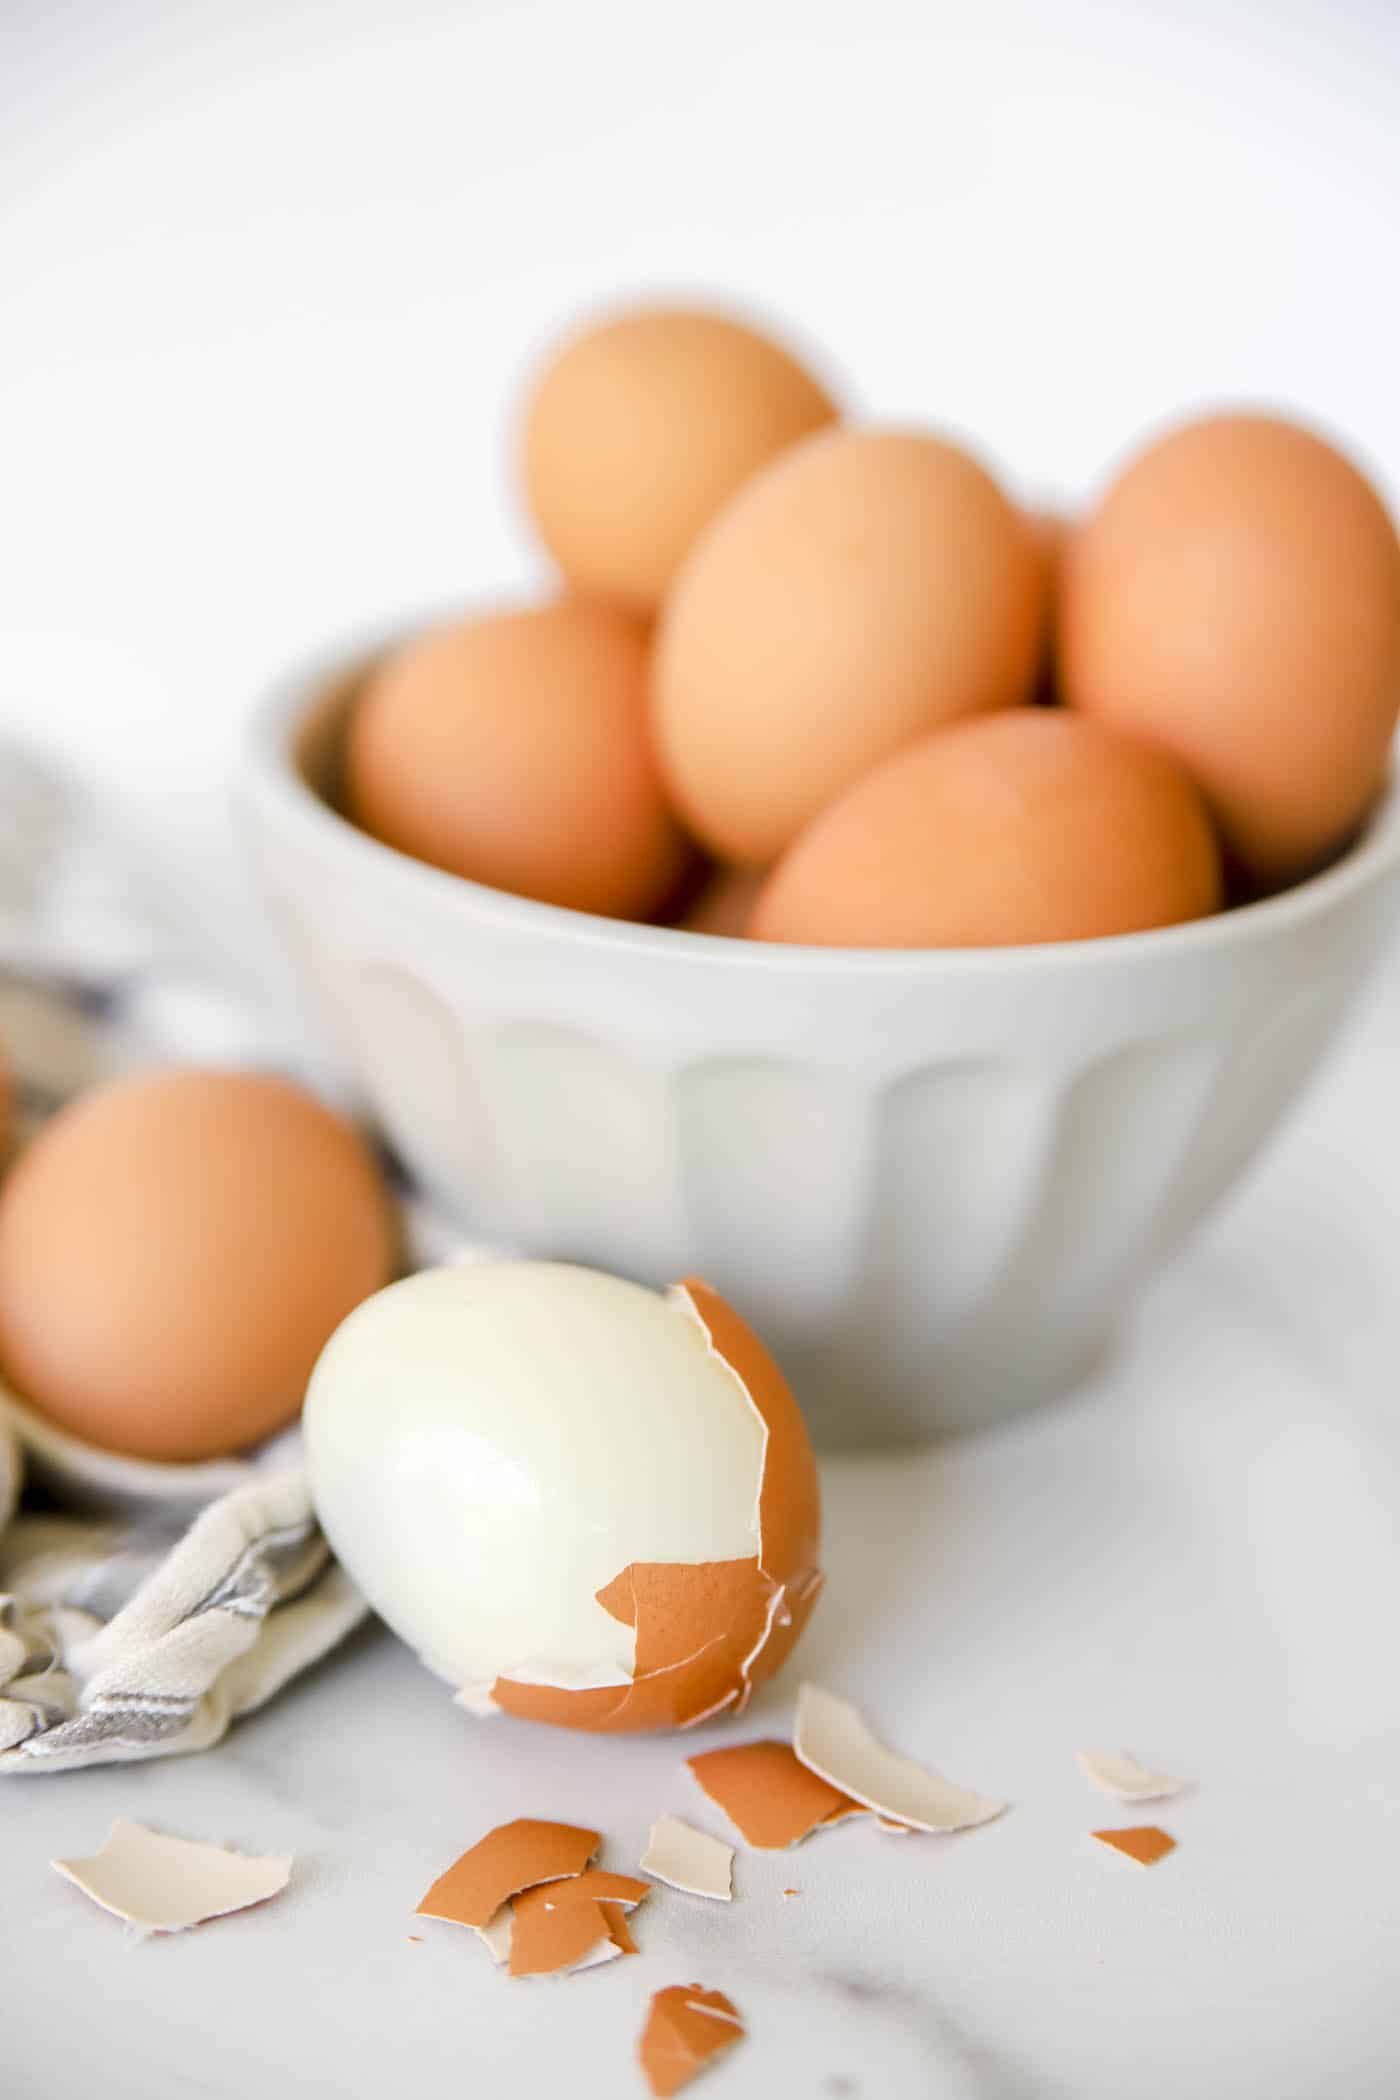
These are also the easiest-to-peel hard-boiled eggs I’ve ever made. I always choose to make them in the Instant Pot these days because it saves so much time on the back end when I’m peeling them!
Ingredients needed
You will need the following ingredients to make these easy-to-peel eggs…
- Eggs: You can’t have hard-boiled eggs without them! 12 large eggs will do.
- Water: You will need 1 cup of water. This helps to create the pressure needed for cooking in the Instant Pot.
- Ice: You will need a bowl full of ice and cold water to cool down your eggs after cooking.
Kitchen equipment needed
Here is everything you’ll need to make these hard-boiled eggs:
- Instant Pot (or Pressure Cooker)
- Large Bowl (optional)
Note: I can fit 12 eggs in my 6-quart Instant Pot.
Tips on how to hard boil eggs in Instant Pot
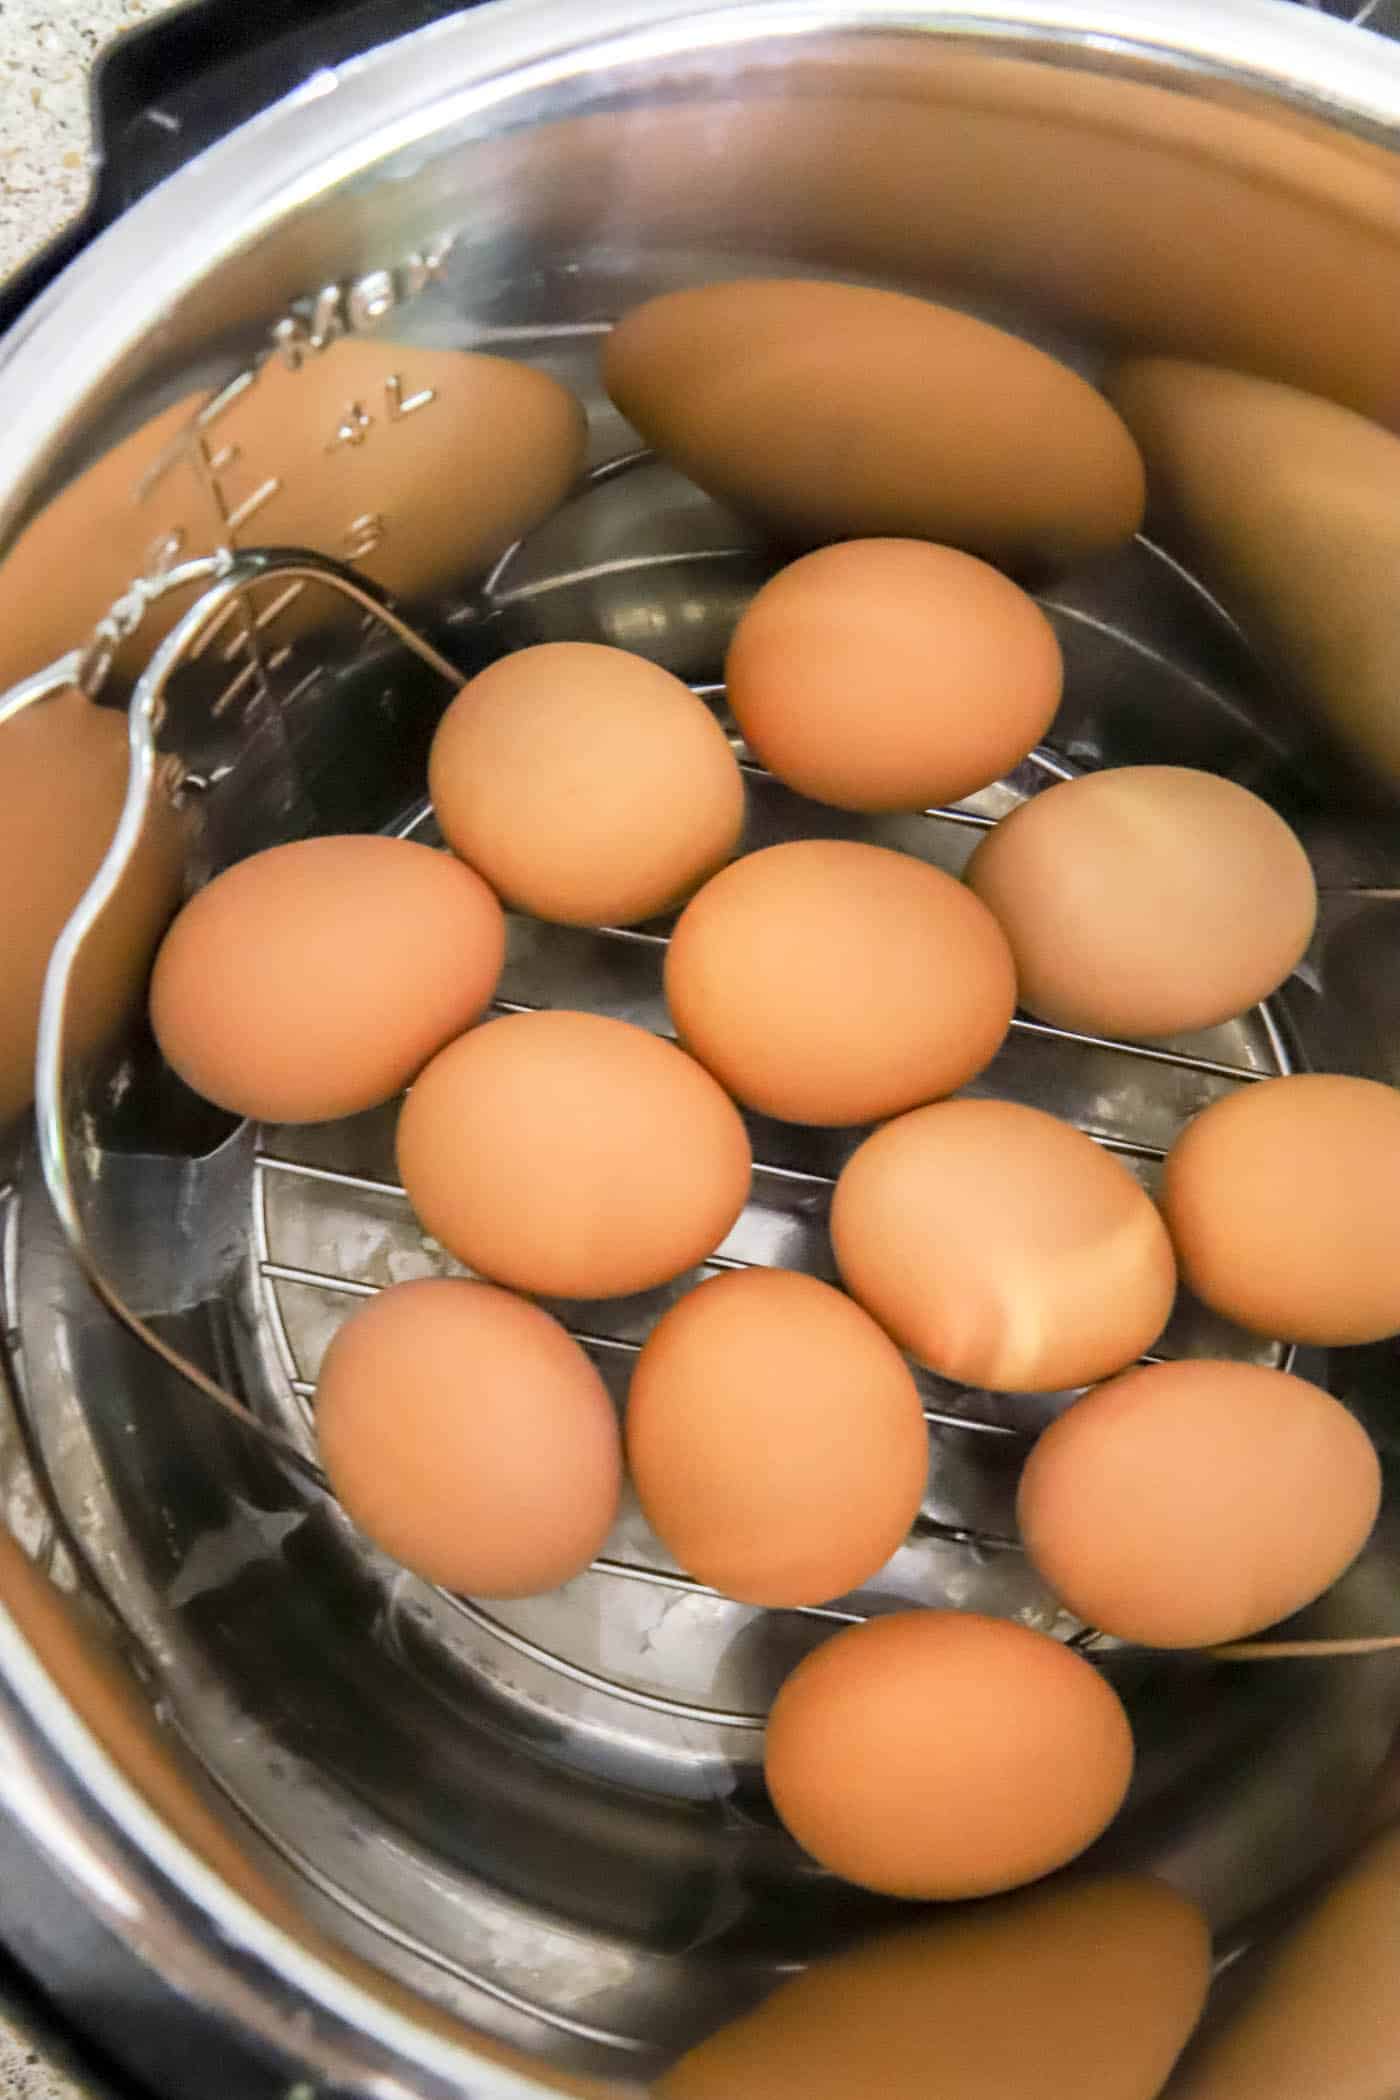
- Use a trivet. Do not skip this step! Adding a trivet to the bottom of the Instant Pot will help prevent your eggs from cracking and make them easier to remove.
- Make sure to set it to HIGH. This will ensure your eggs cook properly, so make sure you set it to the HIGH setting.
- Do a natural release. After the cooking time is up, let the pressure cooker do a natural release for 5 minutes. This will help to keep your eggs from overcooking and getting rubbery.
- Add eggs in one layer. Make sure you place the eggs in a single layer at the bottom of the pressure cooker. This will help ensure they cook evenly and don’t touch each other. Stacking the eggs on top of each other will cause them to overcook.
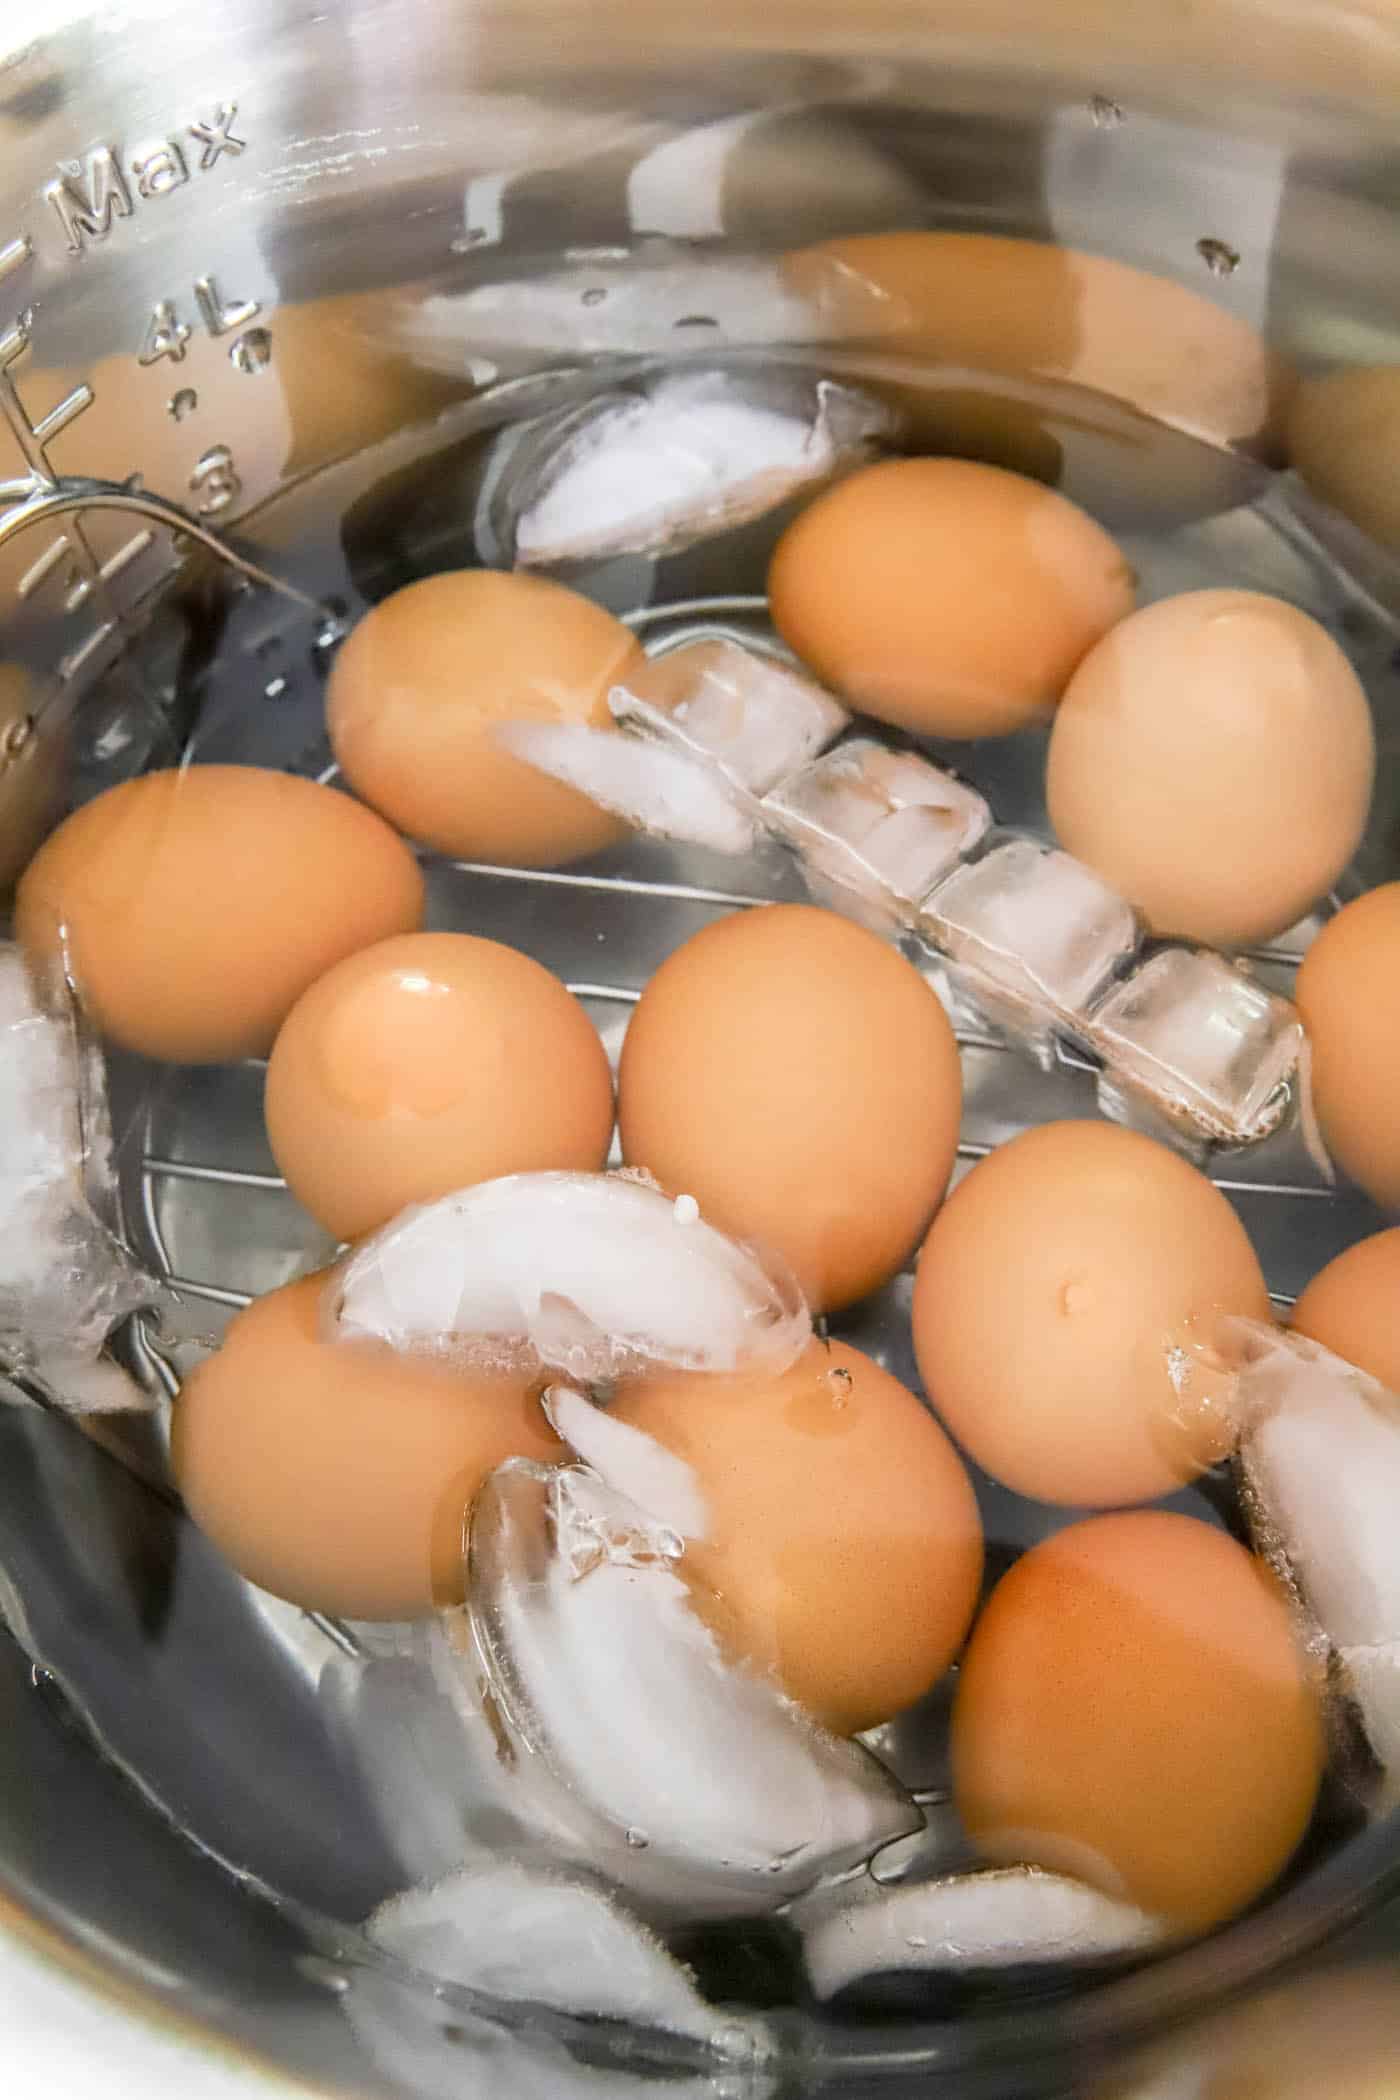
- Don’t skip the ice bath. Once the eggs are done cooking, it’s important to cool them down quickly. Placing them in an ice bath for a few minutes is the best way to do this. You can do it inside the Instant Pot or in a separate large bowl.
How to serve Instant Pot hard-boiled eggs
Once your eggs are cooked and cooled, you can eat them as is or use them in other recipes!
A classic deviled egg recipe is always a crowd-pleaser. Perfect for an appetizer or party snack! Just add mayo, mustard, and any of your favorite toppings.
During the spring and summer, I love to use the Instant Pot to cook up my potatoes and hard-boiled eggs to make my Mom’s traditional red potato salad.
You can also make a delicious egg salad sandwich paired with your favorite bag of chips. Dice up the hard-boiled eggs with some celery, mayo, and a pinch of salt and pepper.
A big fan of salads? Slice up a hardboiled egg and add it to your favorite green salad for a protein boost. My personal favorite is dressed cobb salad!
No matter how you decide to serve them, your Instant Pot hard-boiled eggs are sure to be a hit!
Enjoy!

How to store
Making hard-boiled eggs in an Instant Pot is a great way to have perfectly cooked eggs at the ready! Not only do they require minimal effort and time, but they are also easy to store once cooked.
Hard-boiled eggs can be stored in the refrigerator for up to one week. Store them in a sealed container for optimal freshness!
Can I freeze hard-boiled eggs?
Yes, simply peel the eggs, place them in an airtight container or freezer bag, and freeze them for up to 3 months. When you’re ready to use them, defrost them in the refrigerator before using them.
FAQS
Whenever I share this hard-boiled egg recipe, I get some of the same questions. Here are the most popular ones that people ask!
If you have a question that isn’t listed here, please leave them in the comments, and I’ll answer them as soon as possible.
Can I use a different size Instant Pot?
Yes, you can use other sizes of the Instant Pot to make hard-boiled eggs. If you have an 8-quart pressure cooker, you can fit up to 16 eggs in one layer at the bottom. Just adjust your cooking time according to the number of eggs you are using.
What if my eggs don’t peel easily?
If you find that your hard-boiled eggs are not peeling easily, try soaking them in cold water for 15 minutes before attempting to peel them. This should help make the shells come off easily!
Should I add vinegar?
Adding vinegar to the cooking water can help make it easier to peel the eggs. Just add 1/4 cup of white vinegar or apple cider vinegar to the Instant Pot with your eggs and water before starting the cooking cycle.
Do I need to use a trivet?
Yes, adding a trivet is essential when cooking hard-boiled eggs in an Instant Pot. It not only helps to keep the eggs from sticking to the bottom of the pressure cooker, but it also prevents them from getting overcooked.
More Grandma-approved recipes
If you loved this recipe for hard-boiled eggs, here are a few other recipes you should try! They are all delicious and grandma-approved.
- How To Cook Bacon In The Oven
- Homemade Cheesy Garlic Bread Recipe
- How To Make Baked Sweet Potatoes
- Classic Chicken Salad Recipe
- How To Make A Charcuterie Board
If you decide to try this recipe, let me know. I’d love to hear what you think in the comments below!
Boiled Eggs in the Instant Pot
Equipment
- Instant Pot or Pressure Cooker
- Large bowl
Ingredients
- 1 cup water
- 12 Large eggs or less
- water and ice
Instructions
- Pour 1 cup of water into the Instant Pot.
- Add trivet insert to the bottom of the Instant Pot.
- Place eggs on the trivet in one layer.
- Close the lid of the Instant Pot and place the pressure valve in the sealed position.
- Set the Instant Pot to manual pressure, high pressure for 5 minutes.
- Once finished, allow the Instant Pot to naturally release for 5 minutes. Then quick release if it’s not finished releasing the pressure.
- Immediately pour water into the Instant Pot and carefully add some ice. Allow the eggs to cool in the ice bath for 5 minutes.
- Peel immediately for best results.
- Keep in the refrigerator for up to 1 week.
Notes
- I can fit 12 eggs in my 6-quart Instant Pot.
- Instead of adding an ice bath to the Instant Pot, prepare an ice bath in a separate bowl. And once the eggs are finished cooling, gently transfer them to the ice bath with tongs.


I recently made homemade potato salad for 100 people. This recipe saved me so much time when it came to peeling the eggs. Yay for Instant Pots!